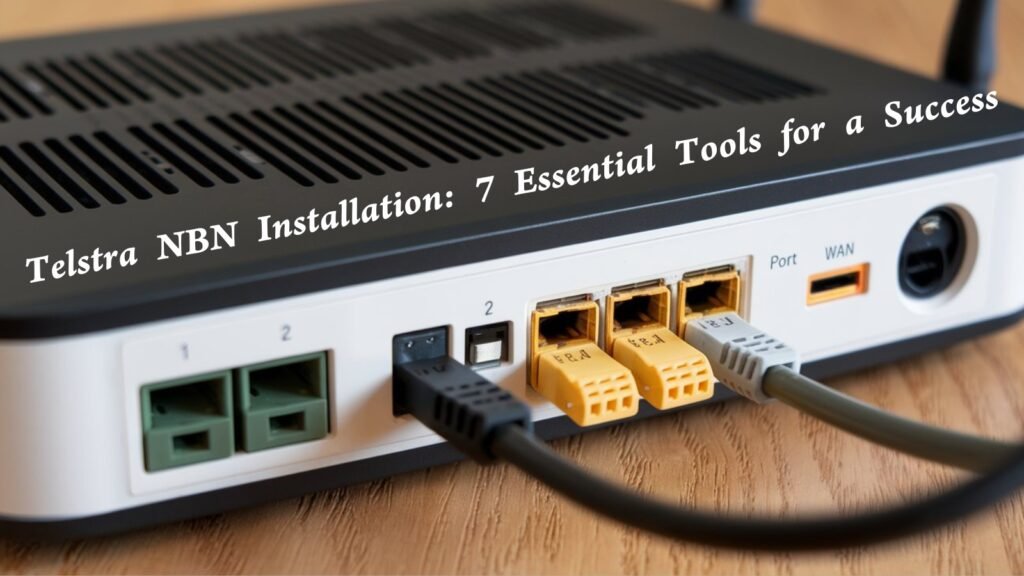
Setting up a reliable internet connection is essential for both homes and businesses. Telstra NBN Installation is a crucial step to ensure a stable and high-speed internet connection in Australia. Whether you’re switching from ADSL or setting up a new property, understanding the installation process and the tools required can make the difference between a smooth experience and ongoing technical issues. In this article, we’ll walk you through the 7 essential tools you need for a successful Telstra NBN installation and provide expert tips to avoid common pitfalls.

Table of Contents
What is Telstra NBN Installation?
Telstra NBN Installation refers to the process of setting up an NBN (National Broadband Network) connection through Telstra, one of Australia’s largest and most trusted internet service providers. The goal of this installation is to provide a high-speed and reliable internet connection to homes and businesses across Australia. The installation process depends on the type of NBN technology available at your location, as the NBN uses a mix of fibre, copper, coaxial, and wireless infrastructure.
Types of Telstra NBN Connections
Telstra offers different types of NBN connections, each requiring specific installation steps and equipment:
| Type of Connection | Installation Steps | Equipment Needed |
|---|---|---|
| FTTP (Fibre to the Premises) | – NBN technician installs fibre cable from the street to your premises. – Install NBN Utility Box (outside) and NBN Connection Box (inside). – Connect Telstra modem to the NBN Connection Box after activation. | – NBN Utility Box – NBN Connection Box – Telstra modem |
| FTTC (Fibre to the Curb) | – NBN technician installs a small FTTC connection device inside your home. – Device links to the copper line and the NBN network. – Connect Telstra modem to the connection device after activation. | – FTTC connection device – Telstra modem |
| FTTN (Fibre to the Node) | – No technician visit required. – Telstra provides a compatible VDSL2 modem. – Connect the modem to your telephone wall socket. | – VDSL2 modem |
| HFC (Hybrid Fibre Coaxial) | – NBN technician installs an NBN Connection Box inside your home. – Connect the box to the existing coaxial cable. – Connect Telstra modem to the box. | – NBN Connection Box – Coaxial cable – Telstra modem |
| Fixed Wireless | – NBN technician installs an antenna on your property. – Antenna connects to the nearest wireless tower. – Connect Telstra modem to the antenna equipment. | – Antenna – Telstra modem |
| Satellite | – NBN technician installs a satellite dish on your property. – Dish connects to the NBN Sky Muster satellite. – Connect Telstra modem to the satellite equipment. | – Satellite dish – Telstra modem |
7 Essential Tools for a Successful Telstra NBN Installation
To avoid delays and connectivity issues, having the right tools is critical. Here are the 7 must-have tools for a smooth Telstra NBN installation:
1. NBN Connection Box (NTD)
What it is:
The NBN Connection Box, also known as the Network Termination Device (NTD), is a key piece of hardware for FTTP, FTTC, and HFC connections.
Why it’s essential:
- The NTD connects your home’s internal wiring to the NBN network.
- It acts as the interface between the external NBN infrastructure and your internal home network.
- Without the NTD, you can’t establish a connection to the NBN network for certain connection types.
2. Ethernet Cable
- An Ethernet cable connects your modem or router to the NBN Connection Box.
- Cat6 or Cat7 cables are recommended for better speed and reduced interference.
| Cable Type | Max Speed | Recommended For |
|---|---|---|
| Cat5e | 1 Gbps | Basic setups |
| Cat6 | 10 Gbps | Most NBN connections |
| Cat7 | 10+ Gbps | High-performance setups |
3. Router or Modem-Router
What it is:
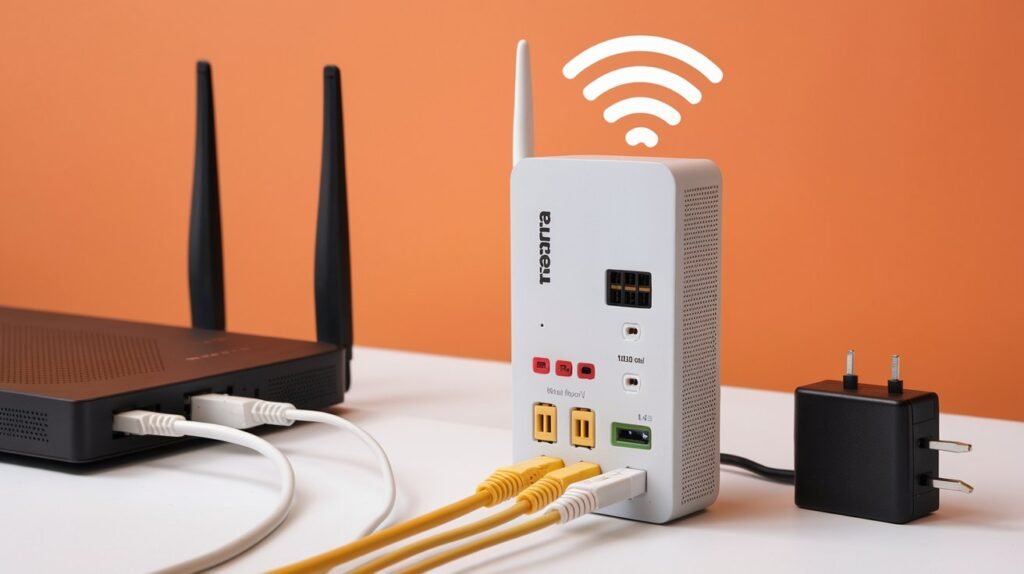
A router or modem-router distributes the internet connection from the NBN network to your devices through Wi-Fi or Ethernet.
Why it’s essential:
- A high-quality router ensures strong Wi-Fi coverage and stable speeds throughout your home.
- Dual-band or tri-band routers reduce signal interference and improve network efficiency.
- Modern routers support high-speed connections and advanced features like guest networks and parental controls.
4. Cable Hauling Tools
What they are:
Cable hauling tools, such as fish tapes and conduit rods, are used to route cables through walls, ceilings, or floors.
Why they’re essential:
- Ensure a clean and professional installation by keeping cables hidden.
- Prevent cable damage during installation.
- Minimize wall damage and maintain the aesthetics of the installation services.
5. Network Tester
What it is:
A network tester is a device that verifies the quality and functionality of network connections.
Why it’s essential:
- Helps diagnose and resolve connectivity issues quickly.
- Measures signal strength, speed, and cable integrity.
- Ensures that the connection meets NBN’s performance standards.
6. Power Drill and Wall Anchors
What they are:
A power drill is used to secure the NBN Connection Box or router to the wall, and wall anchors provide additional support.
Why they’re essential:
- Ensures that the equipment is securely installed and protected from accidental damage.
- Provides a clean and professional finish to the installation.
- Wall mounting often improves Wi-Fi signal coverage by raising the router off the ground.
7. Insulated Screwdrivers and Pliers
What they are:
Insulated screwdrivers and pliers are tools used to handle electrical components safely.
Why they’re essential:
- Protects against electrical shock when working near power sources.
- Ensures that cable connections are tight and secure.
- Prevents damage to the NTD or router from loose connections.

Common Issues and Solutions
Here are some frequently encountered issues during Telstra NBN installation and how to fix them:
| Problem | Cause | Solution |
|---|---|---|
| No Internet Connection | Incorrect cable setup | Check all cable connections and restart the modem |
| Weak Wi-Fi Signal | Poor router placement | Move the router to a central location |
| Slow Speeds | Network congestion | Use Ethernet connection or upgrade to a higher speed plan |
| Dropped Connection | Faulty cables or modem | Replace cables and reset the modem |
FAQs About Telstra NBN Installation
Q1: How long does a Telstra NBN installation take?
A Telstra NBN installation typically takes 2 to 4 hours, depending on the connection type and complexity.
Q2: Do I need a technician for Telstra NBN installation?
- FTTP, FTTC, and HFC often require a technician.
- FTTN may be self-installed if internal cabling is in place.
Q3: Can I use my existing modem for Telstra NBN?
Yes, but it must be compatible with Telstra NBN settings. Telstra provides a list of compatible modems.
Q4: What should I do if my NBN connection is not working after installation?
- Restart your modem and NTD.
- Check cable connections.
- Contact Telstra support if the problem persists.
Related Topics
- Best Routers for Telstra NBN
- How to Test NBN Speed
- Troubleshooting Telstra NBN Dropouts
Telstra NBN Installation Process
| Step | What to Do | Why It’s Important |
|---|---|---|
| Step 1: Check NBN Availability | – Visit the Telstra website or use the NBN Co address checker. – Enter your property address to confirm NBN availability and the connection type (FTTP, FTTC, FTTN, HFC, Fixed Wireless, or Satellite). | – Not all areas have access to every type of NBN connection. – Availability determines the equipment and setup process needed for installation. |
| Step 2: Schedule an Installation Appointment | – If a technician is required (for FTTP, FTTC, HFC, Fixed Wireless, or Satellite), Telstra will schedule an appointment. – For FTTN connections, you usually don’t need a technician—Telstra will provide instructions for self-installation. | – An experienced NBN technician ensures the setup is done correctly. – Scheduling avoids delays and ensures the right equipment is used. |
| Step 3: Prepare the Installation Area | – Clear any furniture or obstacles from the installation area. – Ensure access to a power outlet for the NTD (Network Termination Device) and router. – Choose a central location for better Wi-Fi coverage and signal strength. | – Ensures a smooth installation process and better signal coverage. |
| Step 4: Connect the NBN Connection Box | – Once the NTD is installed (if required), connect an Ethernet cable from the NTD to your Telstra router. – Ensure all cables are securely connected to avoid signal loss or dropouts. – For FTTN, plug the Telstra VDSL2 modem directly into the telephone wall socket. | – A secure connection between the NTD and the router ensures reliable internet performance. – Proper cable alignment prevents signal loss and connectivity issues. |
| Step 5: Test the Connection | – Use a network tester to verify the signal strength and connection stability. – If the connection isn’t working, restart the modem and check for any loose connections. – Ensure that the status lights on the NTD and router are green (indicating proper connectivity). | – Testing ensures that the internet speed and signal strength meet Telstra and NBN standards. – Immediate troubleshooting prevents future connectivity issues. |
| Step 6: Configure the Router | – Open the router’s settings using a web browser (usually by entering 192.168.0.1 or 192.168.1.1). – Enter the Telstra login details (provided in the setup guide or via email). – Set up a Wi-Fi network name and password. – Configure other settings like guest networks and parental controls if needed. | – Setting a secure password protects your network from unauthorized access. – Configuring dual-band or tri-band settings improves Wi-Fi signal performance and reduces congestion. |

Conclusion
A successful Telstra NBN Installation starts with the right tools and proper planning. By using the 7 essential tools outlined in this guide, you can avoid connectivity issues and enjoy a stable, high-speed internet connection. If you need professional assistance, Value Services offers expert NBN installation services to get you connected quickly and efficiently.
👉 Need help with your Telstra NBN Installation? Contact Value Services today for a hassle-free setup!

